Author: NvaTl4VQ
-
Top Tips For Downloading Youtube Videos Easily
YouTube has revolutionized the way we consume video content, offering a vast array of entertainment, education, and information at the click of a button. However, while streaming is convenient, there are times when users may wish to download their favorite videos for offline viewing. This is where YouTube downloaders come into play—powerful tools designed to…
-
The Ultimate Guide To Web Development Services
In today’s digital age, the demand for robust web development services has never been greater. As businesses increasingly pivot to online platforms, a compelling and functional website has become essential for success. From e-commerce solutions to content management systems, web development incorporates a range of technologies and skills that enable companies to create an engaging…
-
Your Guide To Top Dui Attorneys In Manassas, Va
If you find yourself facing a DUI charge in Manassas, Virginia, navigating the complexities of the legal system can be overwhelming. The repercussions of a DUI conviction can be severe, including hefty fines, license suspension, and even jail time. Engaging a knowledgeable DUI attorney in the area is crucial to ensuring that your rights are…
-
Best Online Gaming Tips To Boost Your Skills Fast
In recent years, online gaming has surged in popularity, transforming from a niche hobby into a mainstream entertainment phenomenon. With millions of players around the globe logging in to experience virtual worlds, epic battles, and intricate adventures, gaming has become a cultural and social force. The rise of high-speed internet access and the widespread availability…
-

Easy Elearning Translation Services: Streamline Your Courses
As elearning continues to surge in popularity, the need for translation services in this field has become increasingly important. With elearning platforms reaching learners from all corners of the globe, providing content in multiple languages is essential to ensure accessibility and effectiveness. Whether it’s translating course material, subtitles for videos, or assessments, elearning translation services…
-
Translate With Ease: Certified Accuracy Guarantee
As businesses and organizations continue to expand globally, the need for accurate and reliable translation services has become increasingly important. Ensuring that translations are not only linguistically correct but also accurately convey the intended message is crucial for effective communication across different language barriers. This is where certification of translation accuracy plays a pivotal role…
-

Top Yacht Rental Tips: Essential Guide For Smooth Sailing
Are you dreaming of a luxury vacation on the water? Look no further than yacht rental! Whether you’re looking to host a special event or just relax with friends and family, renting a yacht is the perfect way to experience the ultimate in luxury and comfort. From spacious decks to gourmet catering options, yacht rentals…
-
Dentist Tips: Essential Dental Care Guide For Healthy Teeth
Visiting the dentist is a crucial part of maintaining good oral health. Dentists are healthcare professionals who specialize in diagnosing and treating issues related to teeth, gums, and overall oral health. From routine check-ups to more complex procedures, dentists play a vital role in keeping our mouths healthy and our smiles bright. In this article,…
-
Top 8 Invisalign Dentists for Busy Professionals in Suwanee GA 30024
Finding the Best Invisalign Dentists in Suwanee, GA for Busy Professionals For busy professionals in Suwanee, GA 30024, maintaining a healthy, confident smile can be challenging amidst hectic schedules. Invisalign treatment offers a discreet, convenient teeth-straightening solution, but finding an Invisalign provider who understands the demands of a busy lifestyle and offers flexible, efficient care…
-
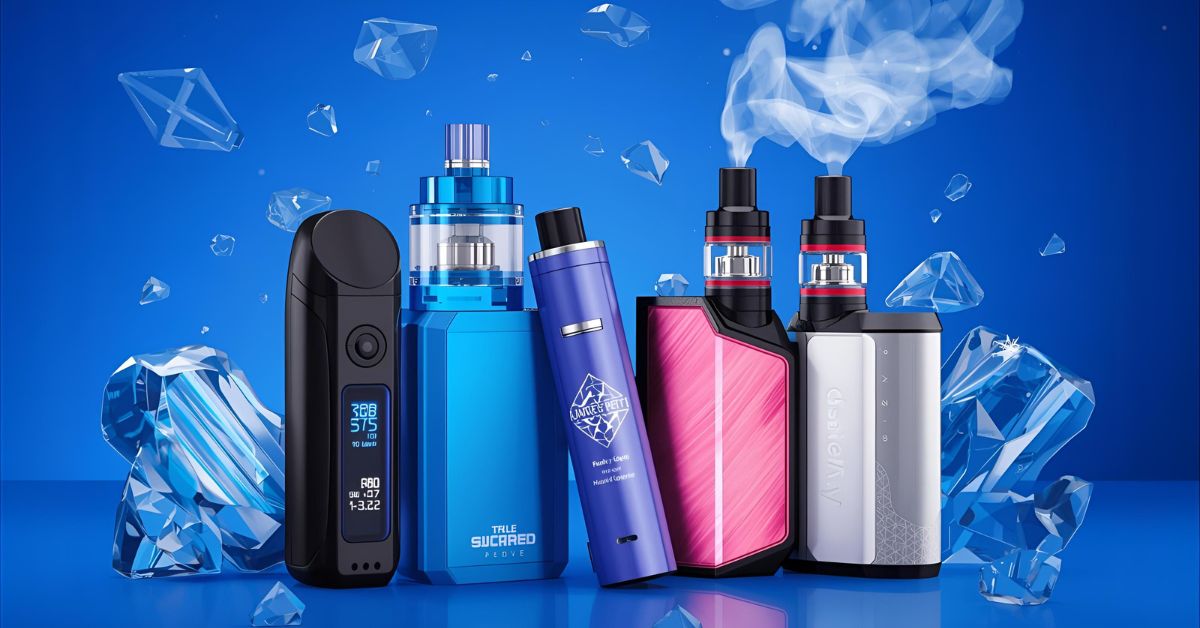
The Best Vape Products For Every Level Of Vaper
As the popularity of vaping continues to rise, it is important to understand the ins and outs of this form of smoking alternative. Vaping, or the use of electronic cigarettes to inhale vaporized liquid nicotine, has become a widespread phenomenon among both smokers and non-smokers alike. From the different types of vapes available on the…